How to Schedule a Hard Drive to Unmount or Eject
By limiting when your back up drive can be accessed, you minimise the chances of accidental deletion and mistakes that risk the contents of the drive.
A hard disk drive physically connected to your Mac can be either be mounted or unmounted. Only if the drive is mounted can the contents of the drive be accessed. Most of the time you will want all your drives mounted and available to use.
There is a situation where it is better to leave your drive unmounted until needed. This is when a drive is used exclusively for backing up. By limiting when your back up drive can be accessed, you minimise the chances of accidental deletion and mistakes that risk the contents of the drive.
Power Manager is frequently used as part of a back up workflow. Previously we have covered how to
mount a network drive using the
mount_smbfs command.
Let’s walk through how to unmount a volume as part of a schedule. We are going to use a small shell script and the command line tool
diskutil.
The shell script will issue one command:
diskutil unmount "/Volumes/Internal"
This single command will unmount the hard disk drive volume called Internal. For your script, you will need to replace the name Internal with the name of the volume you want to unmount.
Create a Daily Unmount Event
Launch Power Manager.app
Click Add… to create a new event.
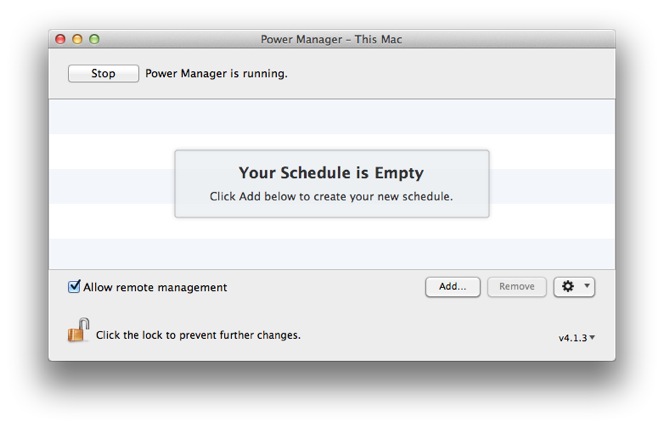
Click Add in Power Manager to create a new event.
Select Run a script daily and click Continue.
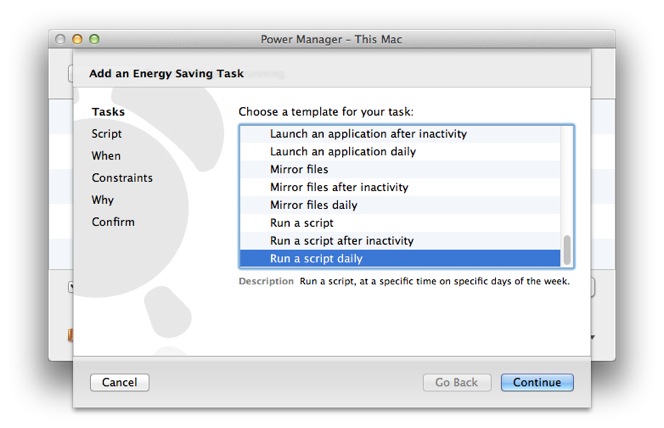
Select the Run a script daily in the Schedule Assistant.
In the Script step, copy and paste the following into the Script to run:
#!/bin/sh
diskutil unmount "/Volumes/Internal"
exit 0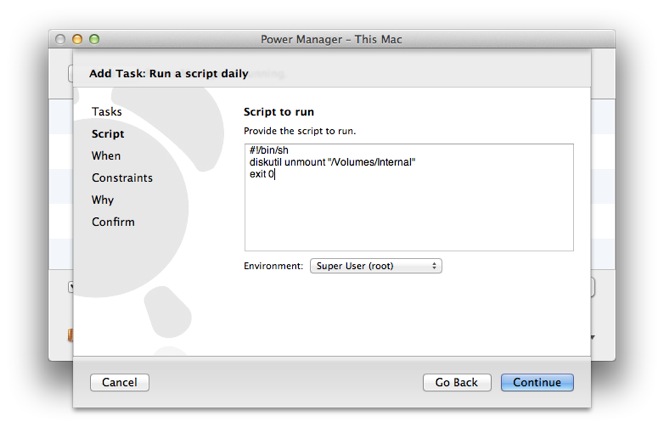
Paste in the modified unmount shell script.
In the Script step, change the Environment to Super User (root).
Continue to the When step.
In the When step, adjust the time and days as desired.
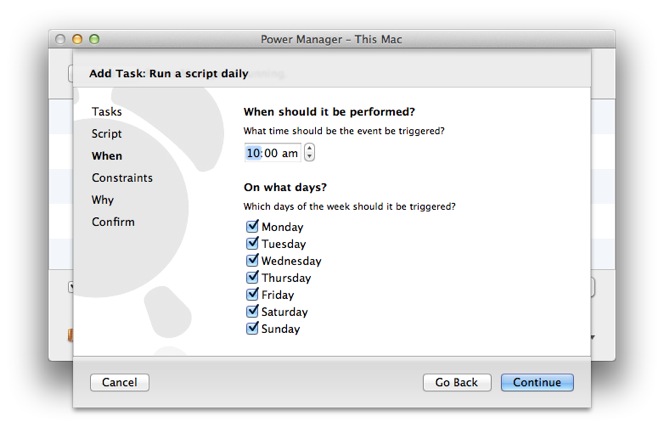
In the When step, adjust the time and days to unmount the volume.
Continue twice, passing the Constraints step.
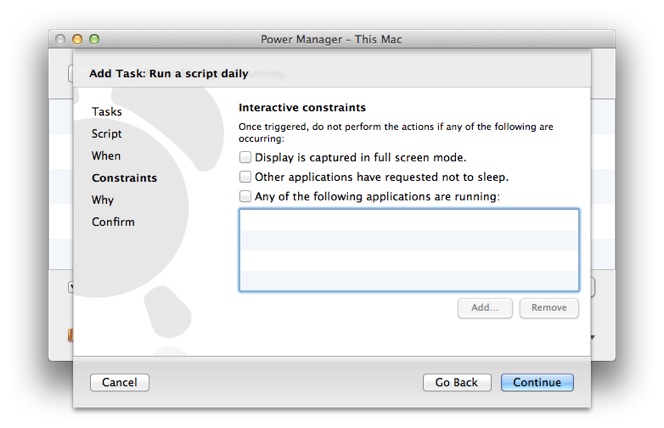
Skip over the constraints for this event.
In the Why step, name and describe your new event.
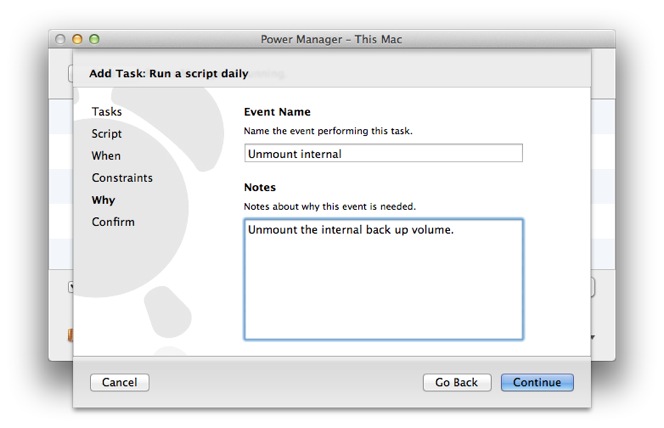
Name and describe your Power Manager event.
Continue and Add your new event.
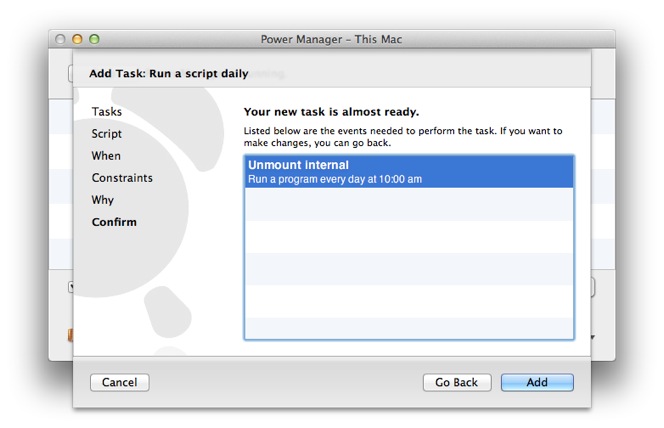
Confirm the new Power Manager should be created.
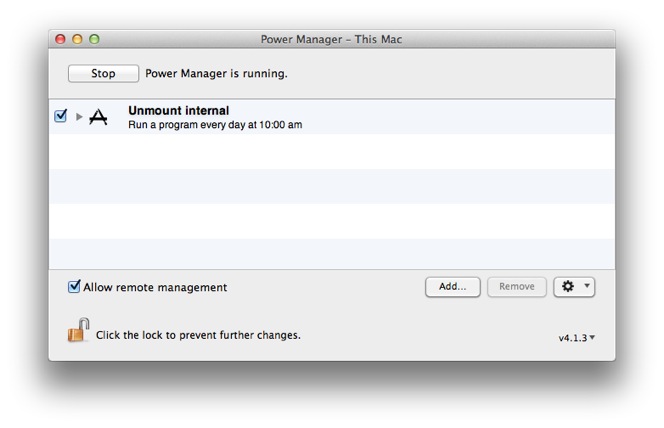
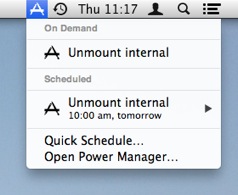
The unmount script is now scheduled and available on-demand.
The new unmount event will be available immediately and can be called on-demand from the Power Manager menu bar item or through Power Manager Remote.
The event can be triggered on-demand.