Avoiding Password Prompts with ssh and rsync
This recipe walks through how to avoid needing to provide a password or passphrase when scripting 'rsync' or 'ssh'. We will do this by setting up ssh keys to handle securely connecting to your server or remote computer.
Secure shell (ssh) offers two distinct ways to securely log into another computer. The default way is to use a name and password combination. This is easy to understand but makes automating remote connections difficult. The prompt for a password requires human interaction, or clever tricks to simulate human interaction.
The second method ssh offers is to use a key pair. In practical terms, this means creating a pair of special files and placing one file on the remote computer ahead of time. It is a one time task that streamlines all future connections.
After the pair of files have been set up, you will never need to enter your password again. The two files substitute for the password prompt and allow remote connections to be automated.
Let’s walk through how to set up the two files and thus create an ssh key pair.
The steps below involve using the Terminal.app application included with Mac OS X and assume some experience with the command line.
Setting up Secure Shell (ssh) Keys on Mac
On your computer follow these steps:
Launch Applications > Utilities > Terminal.app
Enter the command into Terminal:
ssh-keygen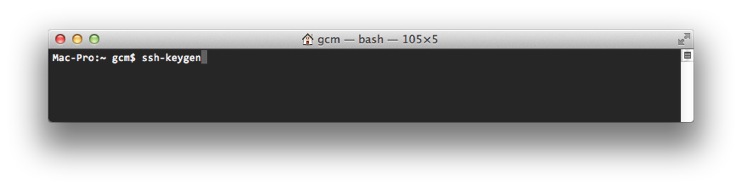
Create an ssh key pair using ssh-keygen
Respond to each prompt from
ssh-keygenby pressing the Return key (leaving the reply blank)
The whole process will look something like:
DssW:~ you$ ssh-keygen
Generating public/private rsa key pair.
Enter file in which to save the key (/Users/you/.ssh/id_rsa):
Enter passphrase (empty for no passphrase):
Enter same passphrase again:
Your identification has been saved in /Users/you/.ssh/id_rsa.
Your public key has been saved in /Users/you/.ssh/id_rsa.pub.
The key fingerprint is:
a9:b0:44:66:ae:2b:2d:05:6c:7f:81:a4:d4:0b:ee:e5 you@DssW.local
The key's randomart image is:
+--[ RSA 2048]----+
|  .              |
| + .             |
|* o .            |
|o= +     +       |
|o.+ o   S        |
| ..E + .         |
| o  F .          |
|o .+ o  .        |
| ooo.   .        |
+-----------------+
We asked for no passphrase. This means the remote connection will not require any human interaction and can be automated.
You have now created the two files on your computer. We next need to move one file to the server. You will need ssh access to the server (remote computer) to complete this final step.
On your computer follow this step:
Enter the command into Terminal:
cat .ssh/id_rsa.pub | ssh username@server.example.com "cat >> ~/.ssh/authorized_keys"You will need to replace username@server.example.com with your server’s ssh details.
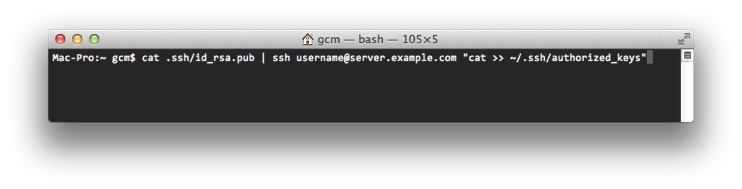
Copy the public key onto the server
If prompted, confirm you want to continue by entering yes.
You should now be set up to login without needing a password. Try logging in and checking the steps worked. You should be able to login without needing a password.
So what have you achieved? You have set up ssh keys to allow you to connect to the server without needing a password.
Your new ssh keys will only work from your computer, using your account, to the server, using only your account on the server. No other combination of computers or accounts has been affected. This is important when deciding where and who to run any automation scripts as.