How to Improve Your Back Ups on Mac OS X
Backing up your personal files is an essential, if mundane, task. One day you will experience problems with your Mac that risks loosing important files, documents, or photos. There are three steps you should take to secure your irreplaceable information:
Backing up your personal files is an essential, if mundane, task. One day you will experience problems with your Mac that risks loosing important files, documents, or photos.
There are three steps you should take to protect your irreplaceable information:
- Back up everything to an external hard disk drive with Time Machine.
- Back up critical files to a remote location.
- Back up critical files to a second external hard disk drive.
These steps can and should be automated. The final step is not essential, but highly recommended if your income depends on your Mac.
If you have not already done so, invest in an external hard drive and use Mac OS X’s Time Machine. Time Machine is a quick and easy way to safe guard your files. Buy as large a drive as possible, and dedicate the entire drive to Time Machine.
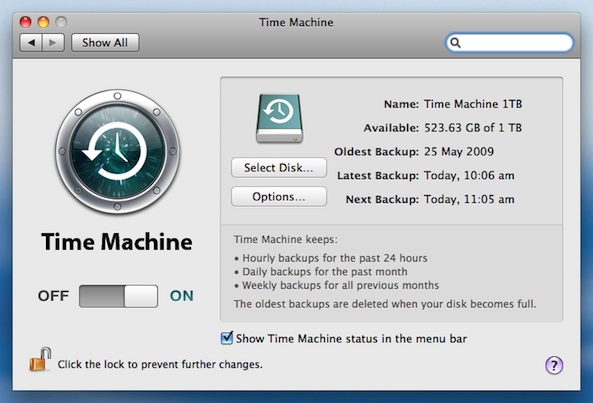
For most home users, regularly copying your files to an external hard drive with Time Machine is good enough. If you can, you should also back up critical files to a remote location.
Got a MobileMe account with Apple? Make sure you are getting the most from the service and copy your critical files to Apple’s iDisk. Each MobileMe account includes gigabytes of storage space on Apple’s servers. You can use Apple’s free Backup software to perform the back ups for you.
The first remote back up will take a long time but do not be put off. Subsequent back ups are much faster.
If your Mac is involved in your business, you should create an additional back up to a second external hard drive.
For this third back up, I use
Power Manager to automate the process. I have an event that is triggered three times a day, and is available on demand. The event includes a call to the built-in rsync command line tool to perform mirroring of files to the external hard disk.
Whenever I have completed an important body of work, I trigger the event on demand with a single click of the mouse.
To help others automate their improve their back ups, we included a task in Power Manager’s Schedule Assistant called Mirror files.
The Mirror files tasks lets you pick a folder or file, and a destination. The task uses this information to create a call to rsync to perform a regular automated copy of the files.
rsync is asked to mirror the originals. If you remove a file from the original, rsync is asked to remove the file from the copy. This behaviour means you are left with an exact copy, or mirror, of your originals after each back up.
Let’s walk through how to create an event in Power Manager to back up a folder to an external hard disk.
Create an Event to Automatically Mirror Files
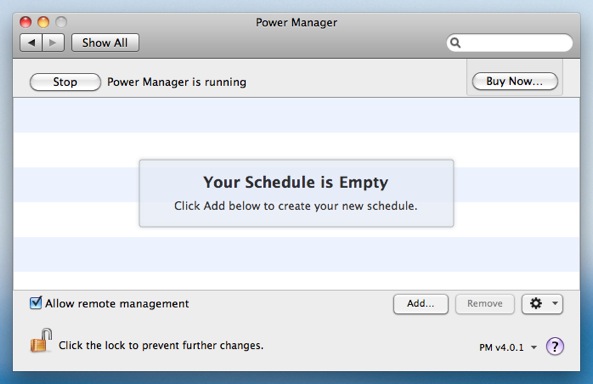
Launch System Preferences and select Power Manager.
Click Add… to create a new event.
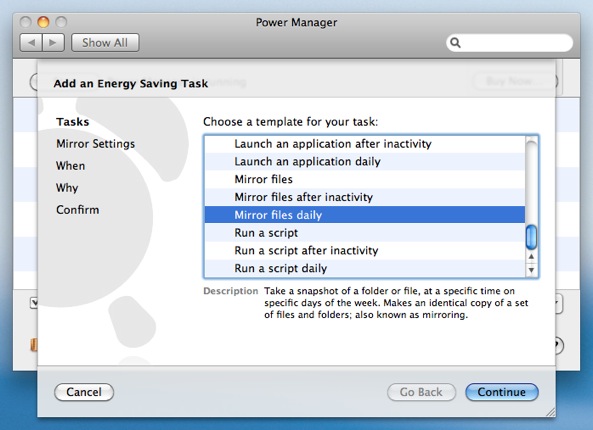
Choose the template Mirror files daily.
Continue to the Mirror Settings step.
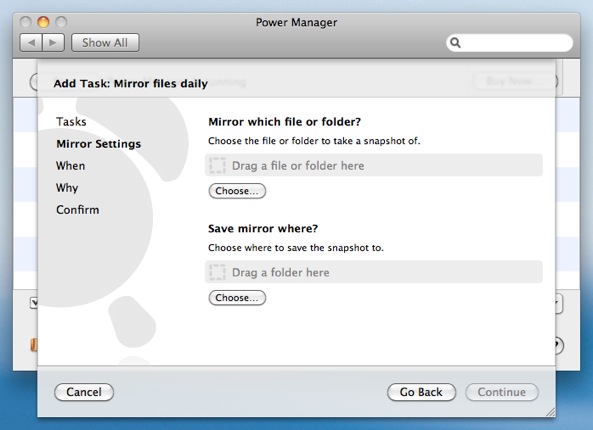
Select the file or folder to back up, and the destination.
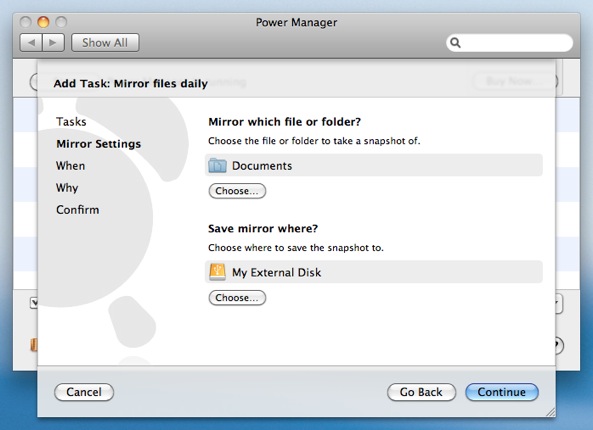
Continue through the remaining steps until your event is created.
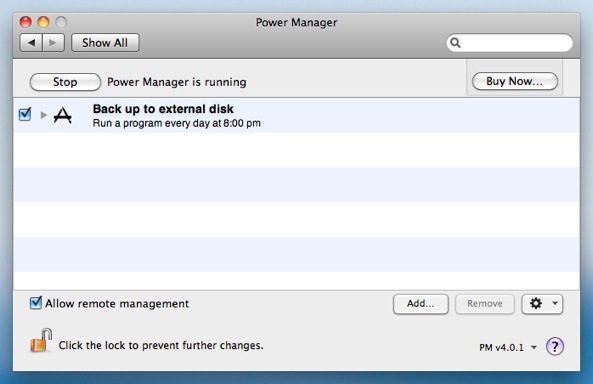
Your back up event is now ready and scheduled. As a bonus the Schedule Assistant has marked the event as being able to perform on demand. Your new event now appears both in your schedule, and as an event you can trigger at any time.
Take a look at the status menu and you will see your new event is listed twice: once under the On Demand section and again under the Scheduled section.
Select the event under the On Demand section now, and your first back up will begin immediately.
Power Manager Professional can be used to customise the rsync command and add more triggers.