How to Show an Inactivity Warning
Learn how to show a warning before an inactivity triggered event occurs.
Inactivity triggered events are frequently used to automatically log out or shut down Macs left unused or idle. This is great for public computers and Macs in academic environments such as labs. In this recipe, we learn how to warn users well before the log out.
Power Manager has a Schedule Assistant task specifically for logging out after inactivity.
When an inactivity trigger occurs the corresponding actions are performed immediately.
If those actions are to log out, that means a large warning is shown for a few seconds followed by the log out process. Given the Mac is likely unused, this is typically reasonable behaviour.
What if you want to warn the user before the inactivity triggered log out?
There are a few ways to approach this problem. We could add a delay into the event’s actions. Alternatively, we could dynamically schedule a definitive log out a few minutes in the future. Both methods would show the standard Power Manager count down notification. But both methods rob the user of their ability to easily cancel the pending log out.
We want a solution that allows the user to avoid the log out but without granting additional authority or credentials. This turns out to be surprisingly simple.
By creating a second event, one that is also triggered by inactivity, that runs a snippet of AppleScript we can show any warning we desire. The trick is to require a shorter period of inactivity for this second warning event, as compared to the existing log out event.
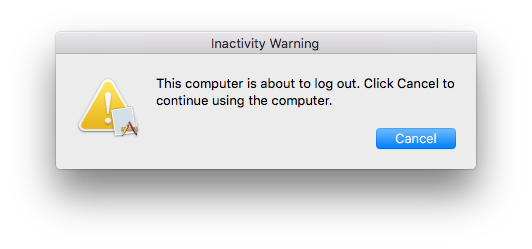
If the user ignores the warning and the computer continues to be left unused, the log out will occur.
However, if the user dismisses the warning, the pending log out will be cancelled because the computer’s period of inactivity will reset to zero.
The inactivity period is reset to zero because the act of dismissing the warning either involves a key being pressed or the mouse being moved; macOS considers both acts a form of user activity.
The warning will be handled by a short AppleScript. The display dialog command is enough for our immediate needs but other options, such as display notification could be used to place a warning in the Notification Center.
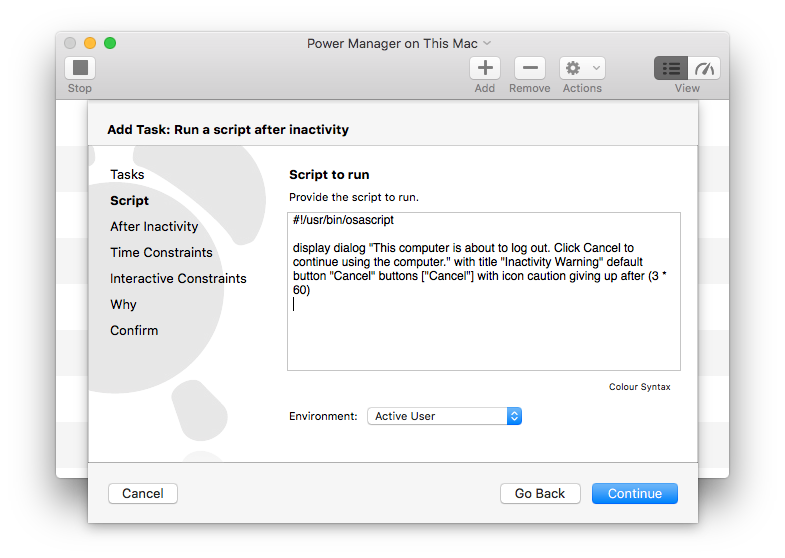
Our complete AppleScript will be (copy and paste this into your Script field):
 #!/usr/bin/osascript

 display dialog "This computer is about to log out. Click Cancel to continue using the computer." with title "Inactivity Warning" default button "Cancel" buttons ["Cancel"] with icon caution giving up after (3 * 60)
While it looks complex, the AppleScript is a single display dialog command with a list of parameters. The parameters are:
"This computer … the computer."is the main text shown in the dialog itself.with title "Inactivity Warning"sets the title of the dialogdefault button "Cancel"sets the default button to Cancelbuttons ["Cancel"]ensures only a single Cancel button is shownwith icon cautionshows a cautionary icon to highlight the dialog’s naturegiving up after (3 * 60)automically dimisses the dialog after 3 minutes
Let’s step through how to create this warning event to accompany an existing log out event.
Create an Inactivity Warning Event
Launch Power Manager.app
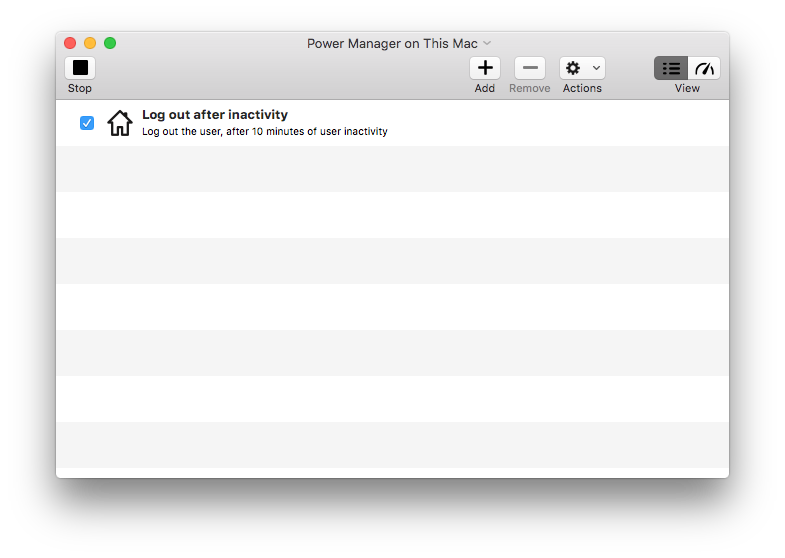
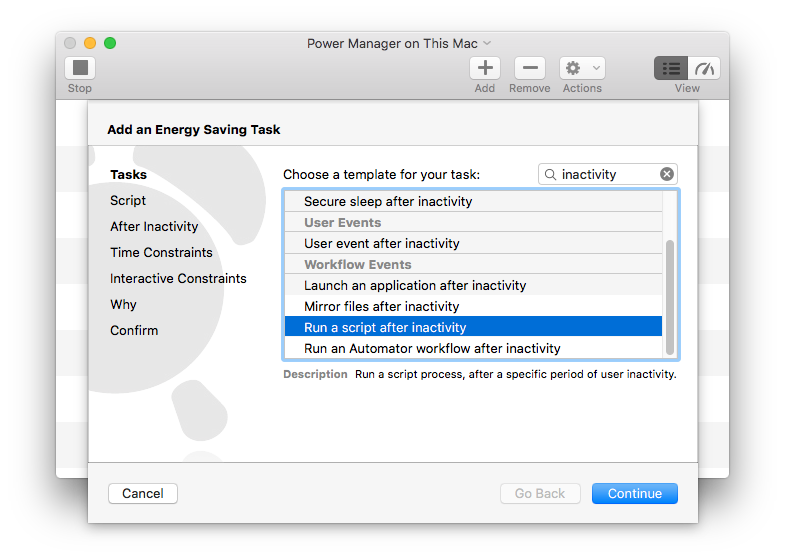
Select Add Event or File > New… > New Event… and Run a script after inactivity from the Schedule Assistant
Continue to the Script step
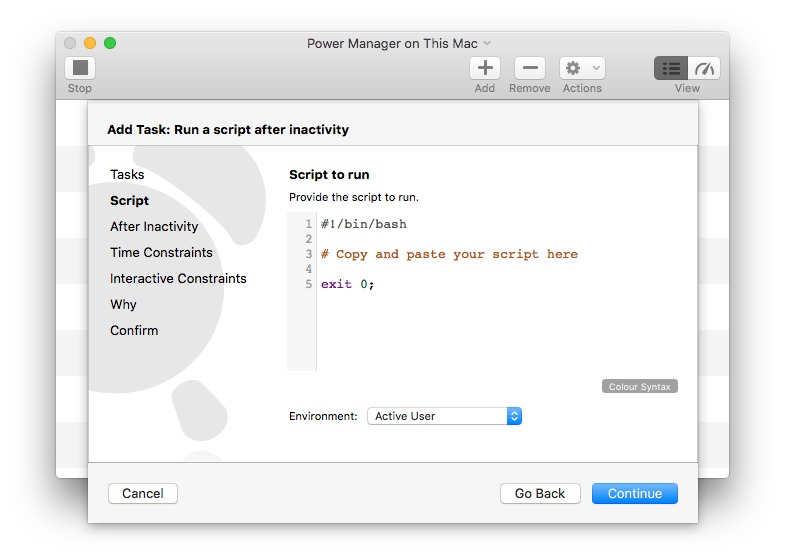
Copy and paste in the AppleScript script from above. It is important to include the
osascriptline and replace all the existing text:
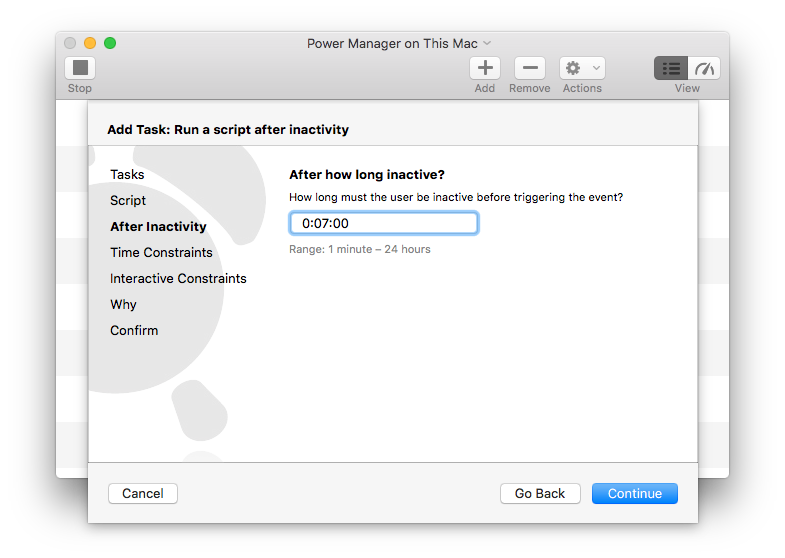
Continue to the After Inactivity step and enter the desired period of inactvity. In this case, I am showing the warning after seven minutes – this is three minutes before my existing log out event will occur.
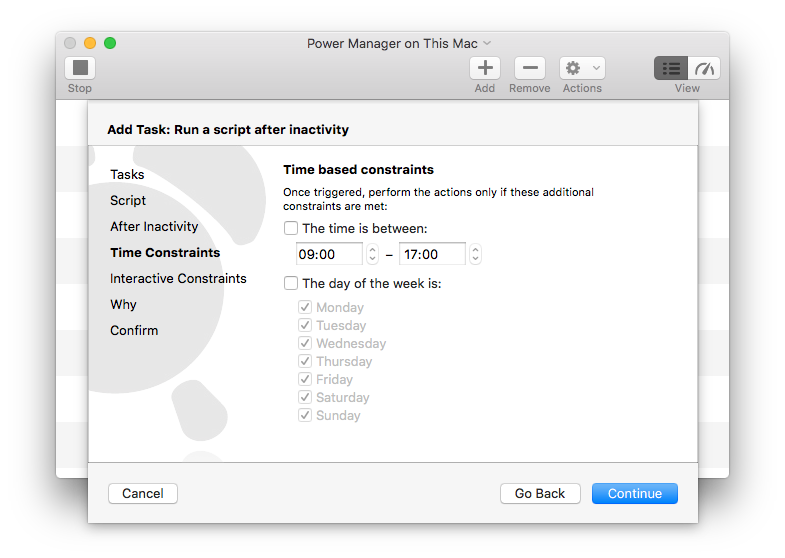
Continue passed the Time Constraints step.
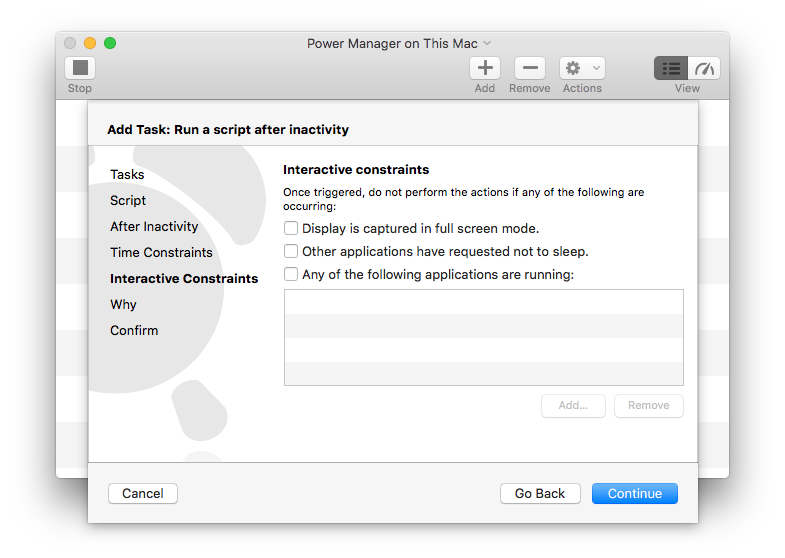
Continue passed the Interactive Constraints step.
In the Why step name and describe your event.
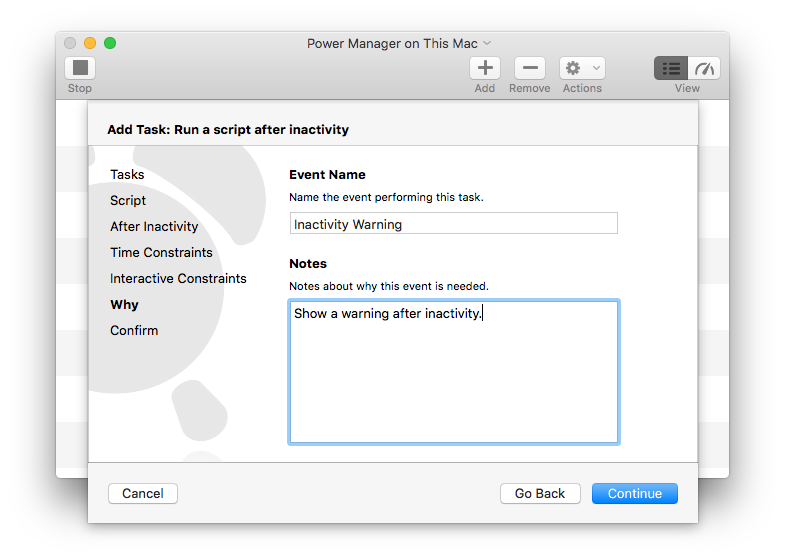
Continue and Add your new warning event.
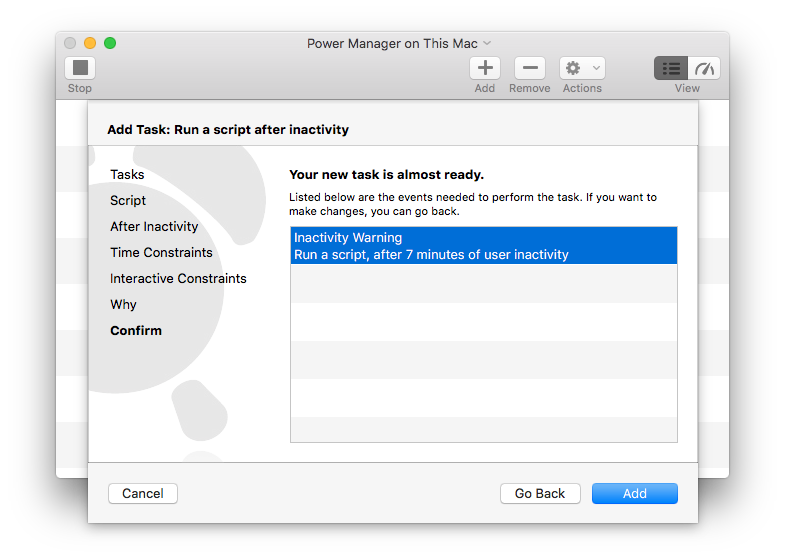
At this stage your warning event is ready. You should test the event to make sure the AppleScript works as expected. The Schedule Assistant task Run a script after inactivity has created your event with the on-demand behaviour set. This means you can immediately trigger your new event – in addition to waiting a few minutes for the inactivity timer to be triggered.
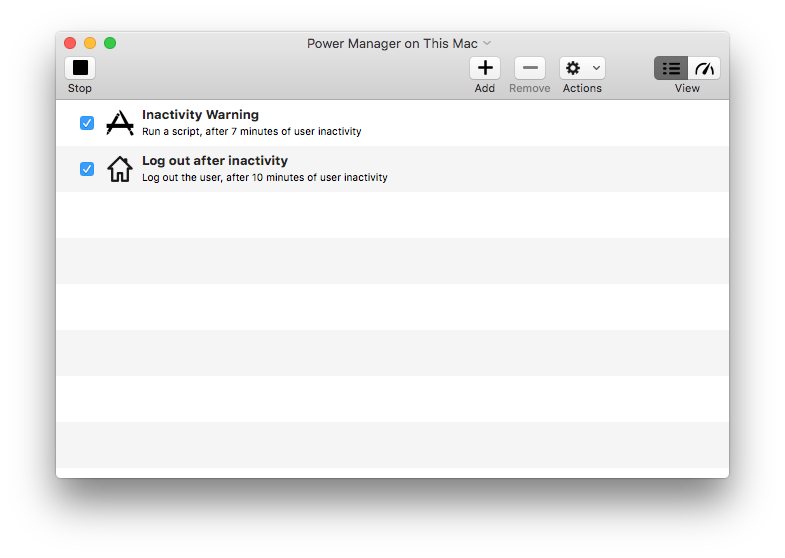
Avoiding the Login Window
There is a problem with the event. The event will be triggered even when no-one is logged in.
Let’s fix this by adding a condition to our event. We will do this using the event editor.
Within Power Manager.app hold down the Option key and double-click on your new event. This will open the event in the event editor.
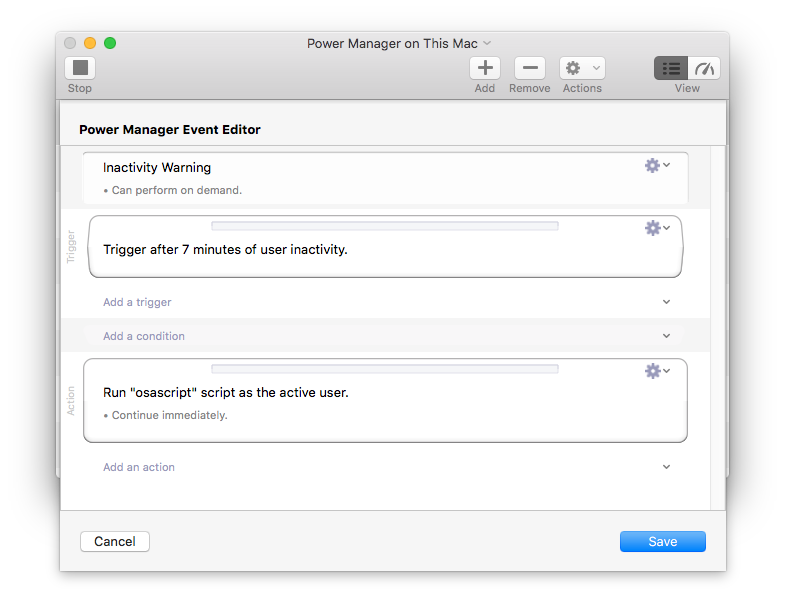
Select Add a condition > Console User > User logged in pop-up menu item.
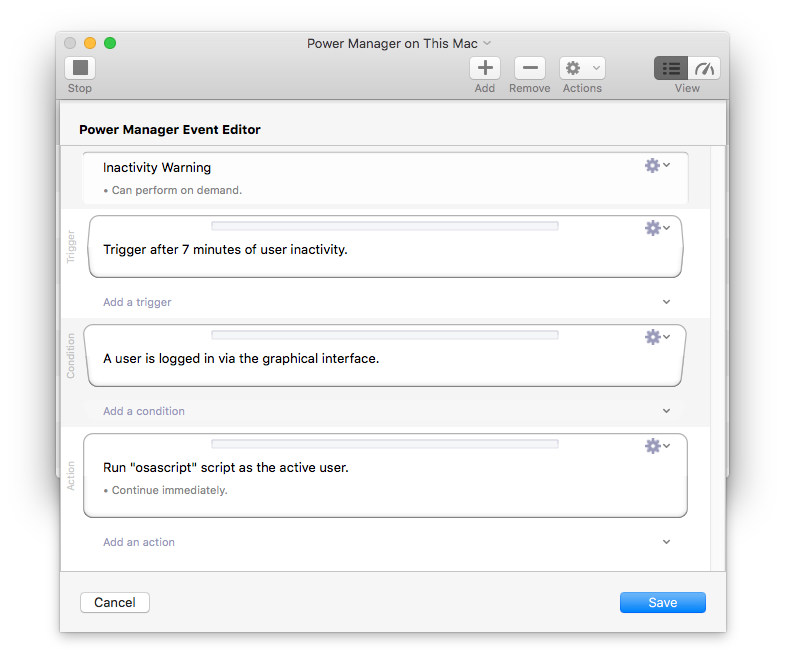
Save the changed event.
The new warning event is complete. With the condition in place, the event will no longer attempt to show the warning dialog when no-one is logged in.
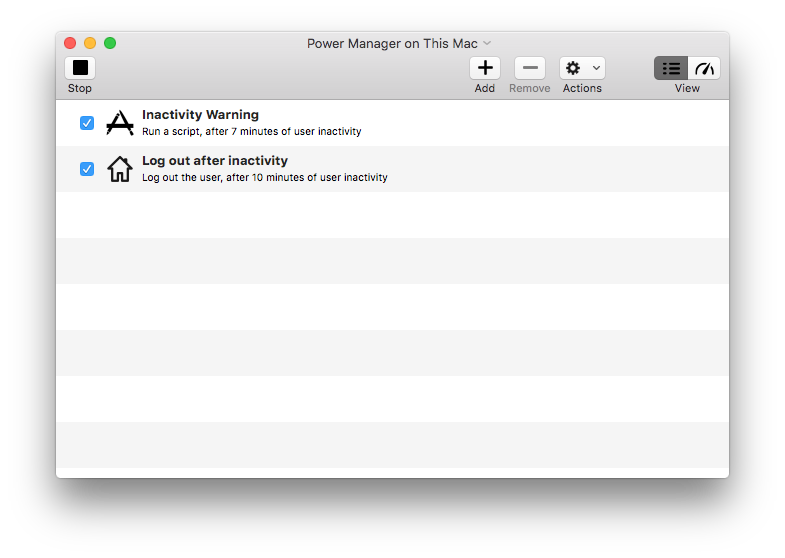
As always, test your event to make sure it performs correctly and as you want. Once you have it working, you can tweak the settings and consider adding more constraints or expanding how the warning is issued.