How to Mount a Mac Drive to a Schedule
Learn how to automatically mount a drive or volume on macOS to a schedule.
You can use Power Manager to automatically mount a hard drive on your Mac. This is particularly useful for preparing a drive for backing up or mirroring your files. When the back up is complete, you can also unmount the same drive with Power Manager.
Mounting a drive on macOS is not as simple as unmounting. To unmount a drive or volume on macOS, use the
diskutil tool. The unmounting command to execute is:
diskutil eject <path to the volume to unmount>
So in my case, with a mounted volume/drive called Scratch, the full unmount command is:
diskutil eject /Volumes/Scratch/
For mounting the same drive, it is not so simple. The command to execute is:
diskutil mount <Volume ID>
Getting the Volume ID is not as trivial as passing a path to the volume. On macOS 10.12 and later, you can use the command line tool diskutil info to extract the required information. Alternatively you can navigate to the information through the graphic tool System Report.app:
Finder > Apple (menu) > About This Mac > System Report… > Storage
Once you have found the Volume ID, the resulting mount command can be executed:
diskutil mount 00000000-0000-FFFF-FFFF-00FF00FF00FF
With Power Manager 4.6, we added a few features to help create an event to mount a drive. Let’s create an event that mounts a drive each weekday evening.
Create a Mount Drive Event
Launch Power Manager.app
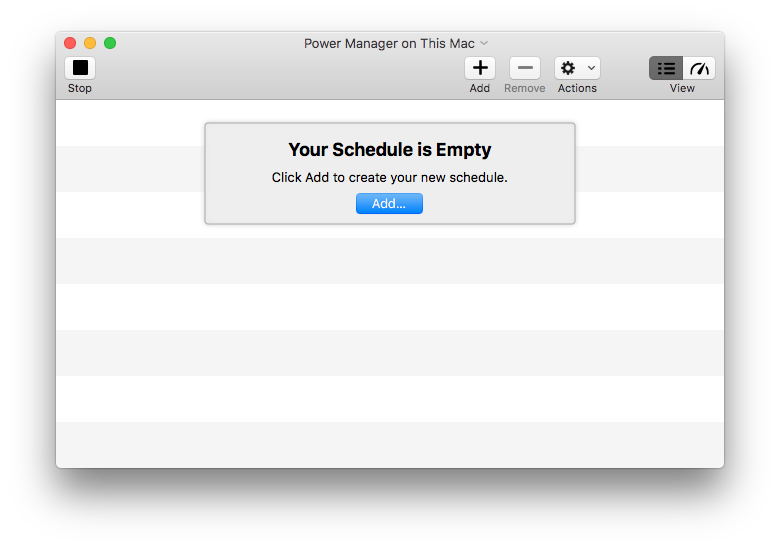
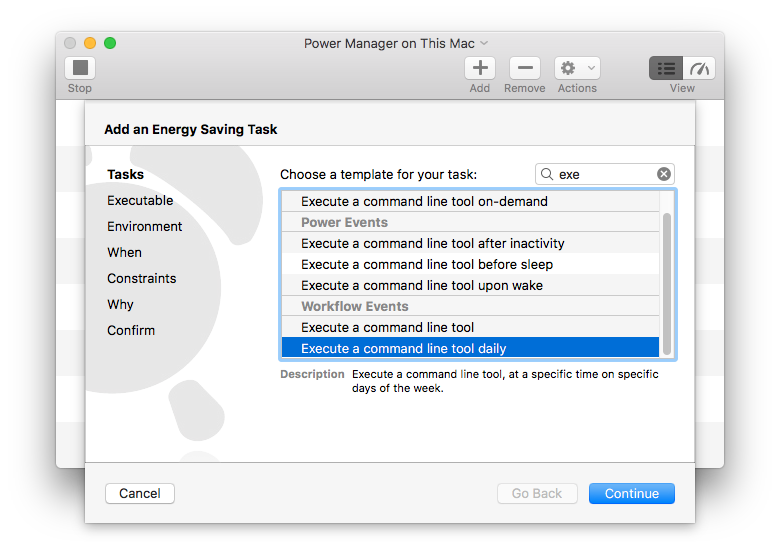
Select Add… or File (menu) > New… > New Event… and then Executable a command line tool daily from the Schedule Assistant.
Continue to the Executable step and for the Executable enter the full path to the
diskutiltool: /usr/sbin/diskutil.For the Arguments to pass to the tool, add two items:
- For the first item: Add (pop-up menu) > Blank > Enter
mount - For the second item: Add (pop-up menu) > Volume UUIDs and select your volume to mount; Power Manager will look-up the associated Volume ID for you.
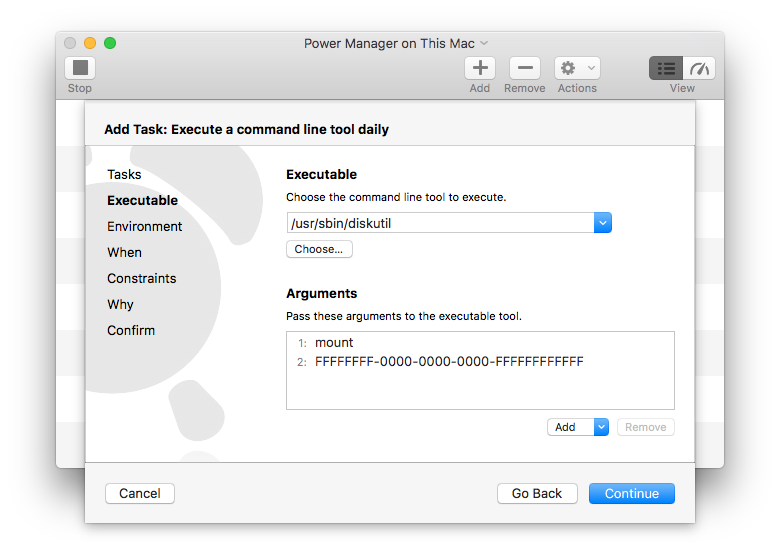
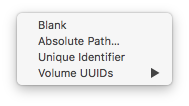
- For the first item: Add (pop-up menu) > Blank > Enter
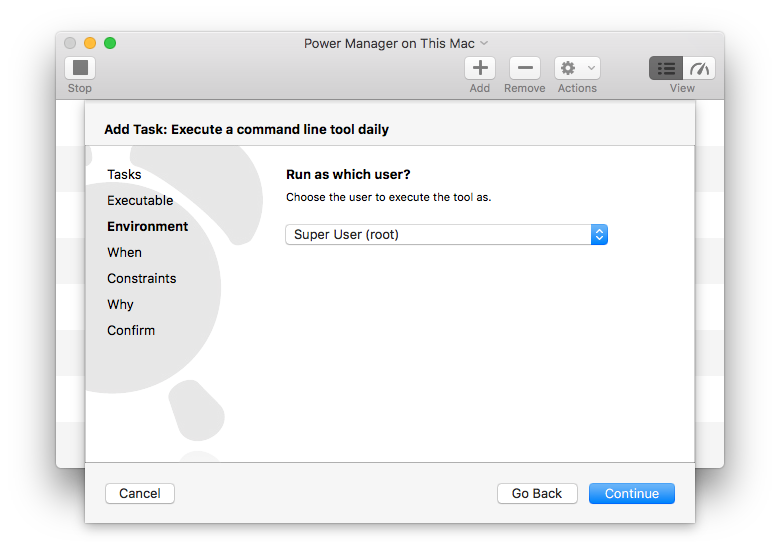
Continue to the Environment step and select Super User (root) for Run as which user?. Performing the command as root ensures the drive is mounted even when no-one is logged into your Mac.
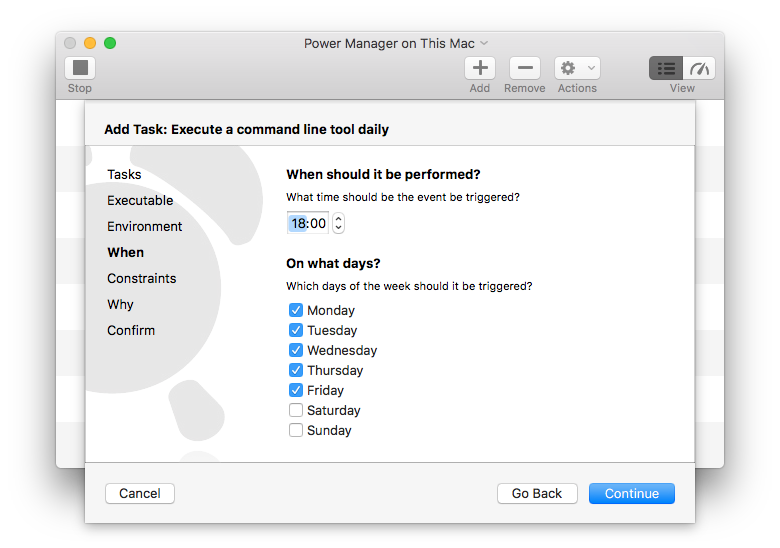
Continue to the When step and enter the time and days to perform.
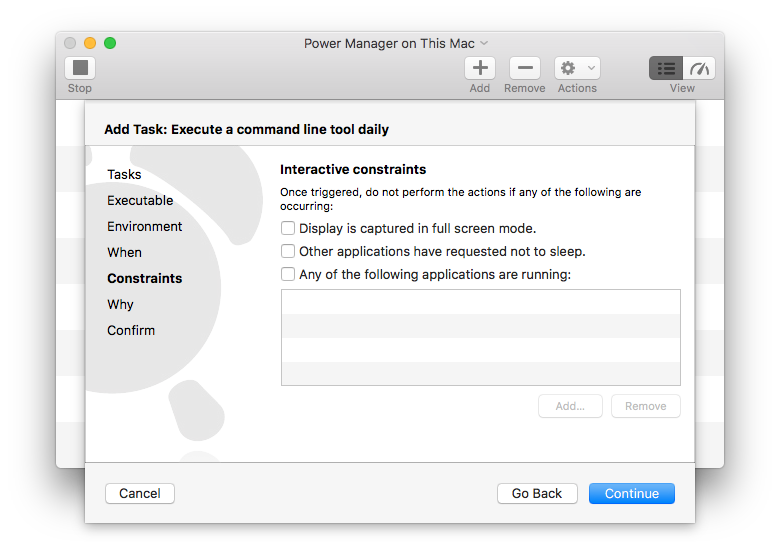
Continue to the Constraints step. Here you can provide any additional constraints. In this instance, there is nothing to select or change.
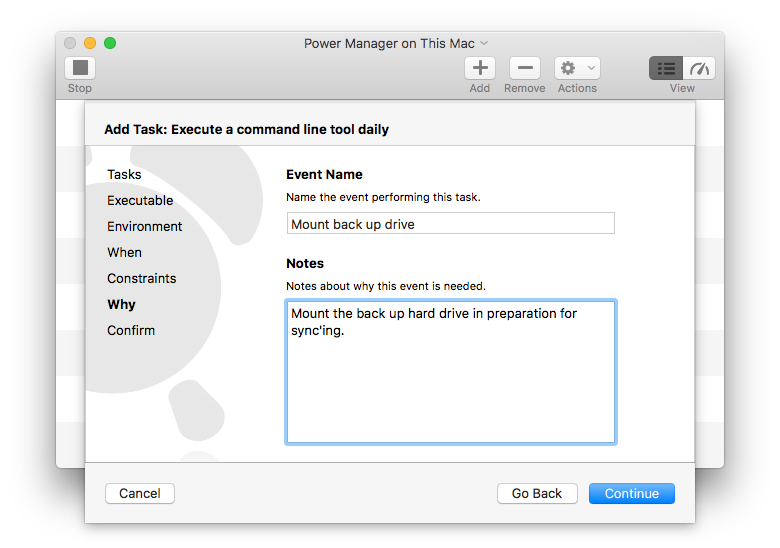
Continue to the Why step to name and describe your event.
Continue and Add your new automatic drive/volume mounting event.
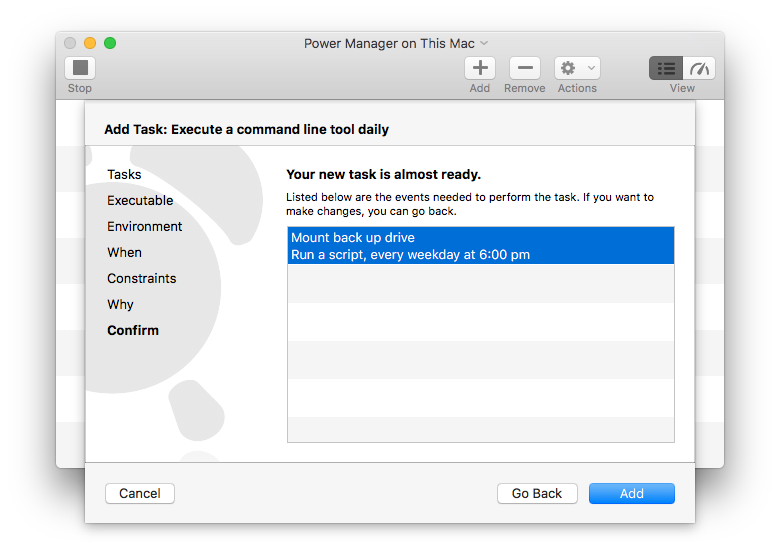
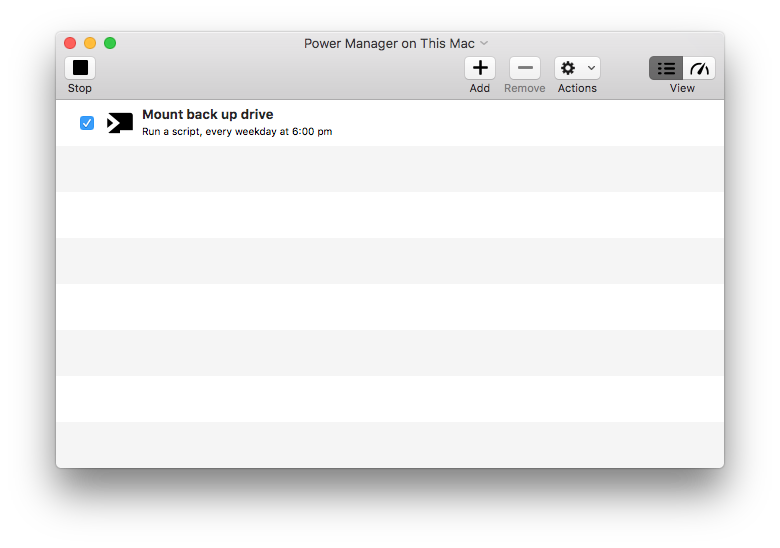
Your new event is complete and ready to use.
You should now test your new event. You can do this by unmounting the drive or volume in the Finder, and then triggering your new Power Manager event. Trigger the event using either the menu item in the top-right of your menu bar, or through the Power Manager.app > Scheduler (menu) > Show Engine interface.
If all goes well, a second or two after triggering the event your drive will mount and be available on your Mac.
If the drive is mounted when the event runs, nothing will happen and the drive will remain mounted.